

Slicing technical support
HOME> Support Service> Technical Support> Slicing Software
Cura 3 release notes
※This version is suitable for versions after 3, for example: 3.0, 3.1...
Cura 3 version, because the parameters that can be changed have become more than Cura 15.04.6 version, Cura 3 will be more suitable for advanced users to use, if you are a beginner Atom player, it is recommended that you use Cura 15.04 first .6 version, wait for familiarity before considering using Cura 3 version.
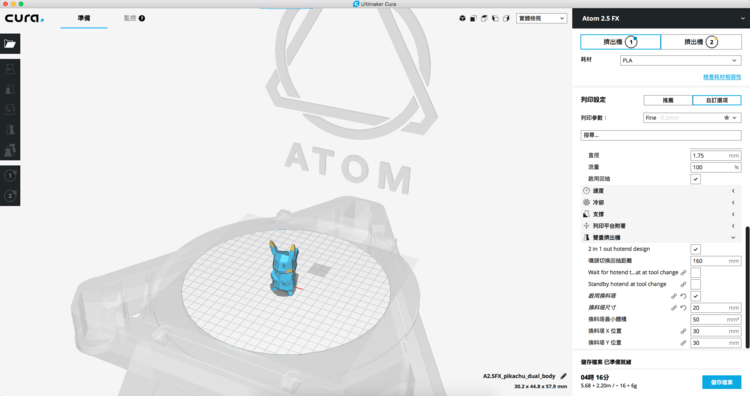
This version can be used in both single and double materials. Note that users of EX and FX machines. If you only use single material printing, remember to set the temperature of extruder 1 and extruder 2 to be the same, otherwise it will If the temperature is abnormal, please remember to press ENTER after setting the parameters to ensure that the parameter setting is completed. If you are upgrading to dual extrusion, select the EX machine setting.
Cura 3 version installation tutorial
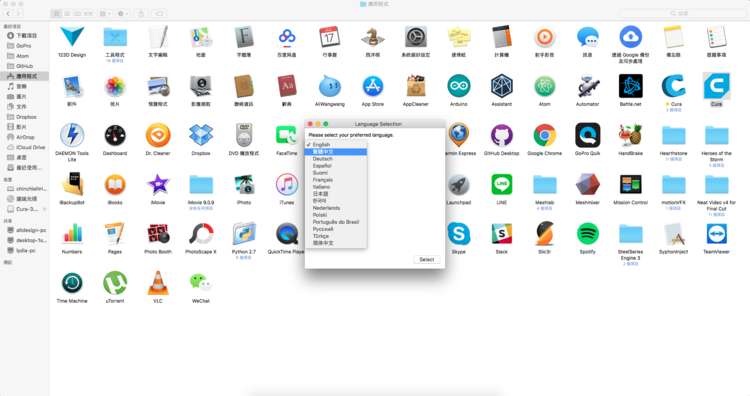
1. The downloaded version of Cura 3 can be selected after installation.
2. Select your machine type.
Please choose the dual material setting file according to the machine you have. There is a difference between EX and FX.
Single material setting files are applicable to all models. To

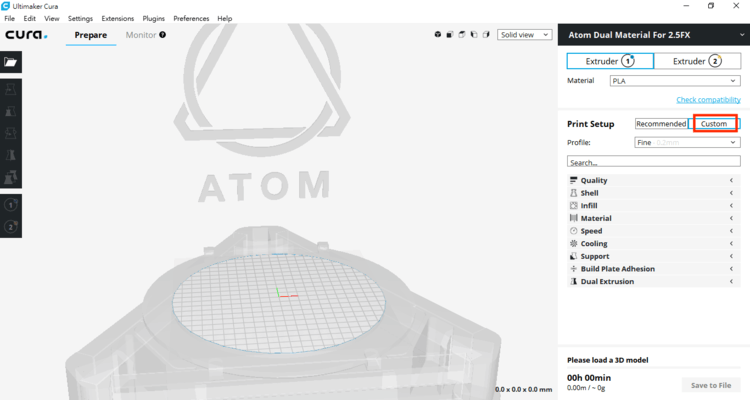
3. Take Chinese as an example, remember to select the custom option before you can adjust other parameters.
※If you choose EX or FX machine, remember to use the same parameters for extruder 1 and extruder 2 for printing temperature and press Enter to save, otherwise the temperature will be abnormal. To
Add other parameter setting options
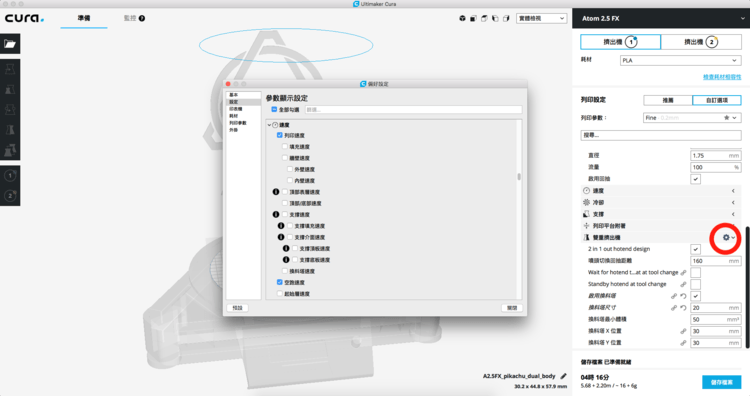
If you cannot find the parameter you want to adjust, you can click the gear (in the red circle), and tick the parameter item you want to adjust. It will be displayed in the print settings on the right, and you can modify the parameter. For common parameters, please refer to Cura 15 interface introduction. Common printing parameter settings are all adjusted in a similar way.
Cura 3 version two-color printing setup tutorial
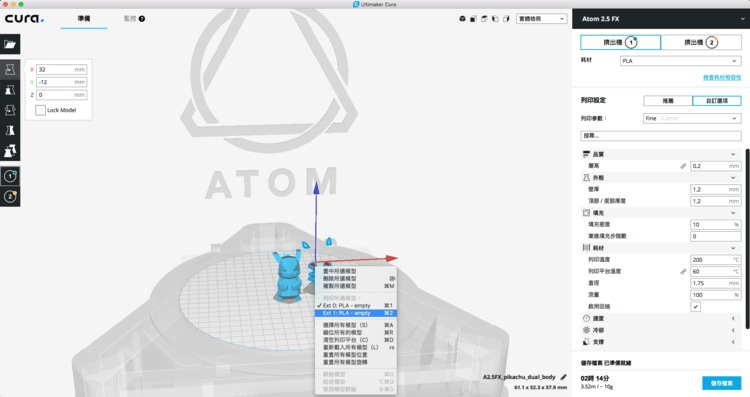
1. First enter the two-color STL file into CURA 3, because the default value will always be the color of the model using E0 (extruder 1) to be displayed in blue, and then select the part that needs to be printed with E1 (extruder 2) After the change is successful, E1 (Extruder 2) will display the model in yellow.
※When changing any parameter, please remember that Extruder 1 and Extruder 2 must use the same set value and press Enter to save.
2. After selecting the two models, right-click and select the combined model.
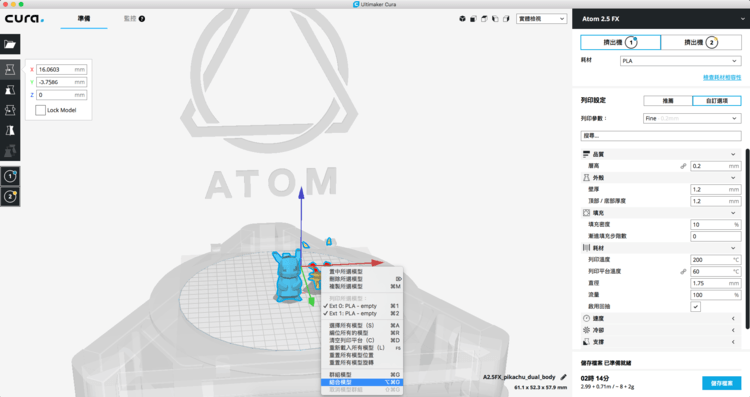
3. If the combined model is not in the centered position, you can right-click and select "Centre select model", or you can press the left button on the model and drag it to the desired position.

4. Enable the refueling tower. If the volume parameter of the refueling tower is displayed in orange, the volume needs to be twice the size. The refueling tower can also be moved at any position, changing the parameters of the X and Y positions of the refueling tower Make adjustments, remember that the refueling tower should not exceed the printable range of the machine.
Cura 3 version double feed teaching
Please manually feed the wire into the extruder (E0, E1) on both sides and push it to the red circle position in the figure below.

Let’s proceed to the next step. There are two methods. Choose one to proceed:
●Manual
Through the LCD operation, the steps are as follows: "Filament→Load E0→E0 Back to JCT→Load E1→E1 Back to JCT→Start Printing"
●Gcode method

In the upper menu of the Cura 3 series program, find "Settings→Printer→Manage Printer→Printer Settings" and add Gcode in the red box. Please use the text file provided below to obtain Gcode.
Can't solve the problem?